* fix: making the correct image adjustments on the cloud functions

* fixing lint and timeout issue
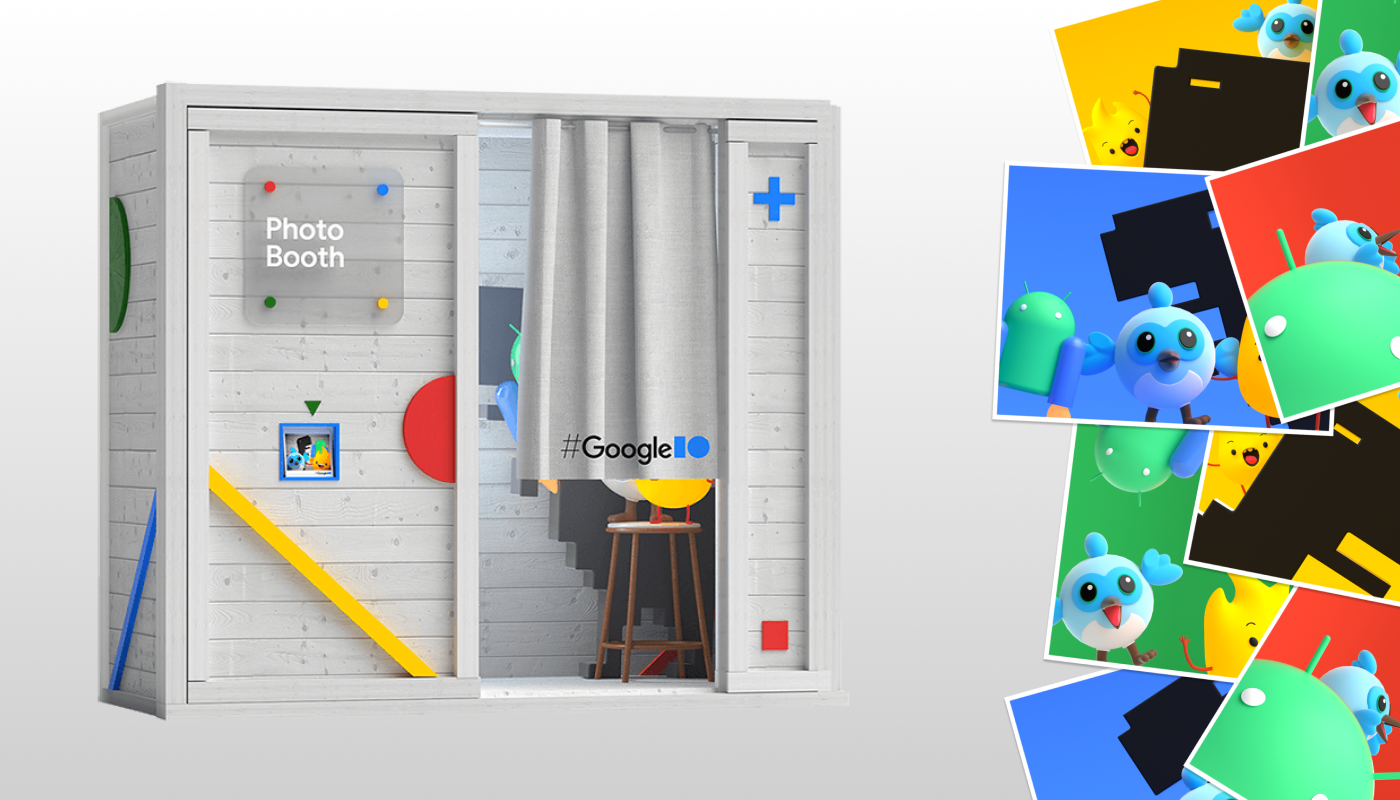
I/O Photo Booth
![]()
![]()
![]()
![]()
A Photo Booth built with Flutter and Firebase for Google I/O 2021.
Try it now and learn about how it's made.
Built by Very Good Ventures in partnership with Google
Created using Very Good CLI 🤖
Getting Started 🚀
To run the desired project either use the launch configuration in VSCode/Android Studio or use the following commands:
$ flutter run -d chrome
*I/O Photo Booth works on Web.
Running Tests 🧪
To run all unit and widget tests use the following command:
$ flutter test --coverage --test-randomize-ordering-seed random
To view the generated coverage report you can use lcov.
# Generate Coverage Report
$ genhtml coverage/lcov.info -o coverage/
# Open Coverage Report
$ open coverage/index.html
Working with Translations 🌐
This project relies on flutter_localizations and follows the official internationalization guide for Flutter.
Adding Strings
- To add a new localizable string, open the
app_en.arbfile atlib/l10n/arb/app_en.arb.
{
    "@@locale": "en",
    "counterAppBarTitle": "Counter",
    "@counterAppBarTitle": {
        "description": "Text shown in the AppBar of the Counter Page"
    }
}
- Then add a new key/value and description
{
    "@@locale": "en",
    "counterAppBarTitle": "Counter",
    "@counterAppBarTitle": {
        "description": "Text shown in the AppBar of the Counter Page"
    },
    "helloWorld": "Hello World",
    "@helloWorld": {
        "description": "Hello World Text"
    }
}
- Use the new string
import 'package:io_photobooth/l10n/l10n.dart';

@override
Widget build(BuildContext context) {
  final l10n = context.l10n;
  return Text(l10n.helloWorld);
}
Adding Translations
- For each supported locale, add a new ARB file in
lib/l10n/arb.
├── l10n
│   ├── arb
│   │   ├── app_en.arb
│   │   └── app_es.arb
- Add the translated strings to each
.arbfile:
app_en.arb
{
    "@@locale": "en",
    "counterAppBarTitle": "Counter",
    "@counterAppBarTitle": {
        "description": "Text shown in the AppBar of the Counter Page"
    }
}
app_es.arb
{
    "@@locale": "es",
    "counterAppBarTitle": "Contador",
    "@counterAppBarTitle": {
        "description": "Texto mostrado en la AppBar de la página del contador"
    }
}
Working with Mason 🧱
This project relies on mason to create and consume reusable templates called bricks. For additional documentation see BrickHub.
- Install mason from pub:
dart pub global activate mason_cli
- Check the current project bricks:
mason list
- Add your own bricks:
mason add bloc
- Generate code from a brick:
mason make bloc
Note
Mason support for Visual Studio Code can be found here.
Debug web app on iphone
To debug the web app on the iphone, we need to run it as https, because without that, the iphone won't let us use the camera. We need to configure safari to listen for logs from the iphone.
Configure https server
- Install http-server from npm:
npm install -g http-server
- Create a script.sh file
cd ~/
mkdir .localhost-ssl

sudo openssl genrsa -out ~/.localhost-ssl/localhost.key 2048
sudo openssl req -new -x509 -key ~/.localhost-ssl/localhost.key -out ~/.localhost-ssl/localhost.crt -days 3650 -subj /CN=localhost
sudo security add-trusted-cert -d -r trustRoot -k /Library/Keychains/System.keychain ~/.localhost-ssl/localhost.crt

echo "
function https-server() {
  http-server --ssl --cert ~/.localhost-ssl/localhost.crt --key ~/.localhost-ssl/localhost.key
}
" >> ~/.bash_profile
source ~/.bash_profile
- Run
script.shfile, each running of a script will add function to ~/.bash_profile
sh script.sh
- Build web project
flutter build web
- Go to the generated directory
cd {project_dir}/build/web
- Run server
https-server
Configure Safari to listen for logs
- On Mac
Open Safari > Preferences > Advanced > enable "Show Develop menu in menu bar"
- On iPhone
Open Settings > Safari > Advanced > enable "Web Inspector"
-
Connect your device to your Mac using a USB cable.
-
Open Safari on iphone and enter server adress, for example https://192.168.1.1:8080
-
On Mac
Safari > Develop > Find "YourPhoneName" > select the Safari session entered earlier, for example 192.168.1.1
Assets generation
We rely on fluttergen to generate the assets. Everytime a new asset folder is needed we should
- Adding the folder to the pubspec.yaml
flutter:
  assets:
    - assets/backgrounds/
    - assets/icons/
    - assets/audio/
    - assets/characters/
- Run
fluttergenon the console - Use your asset
Assets.nameOfTheFolder.nameOfTheAsset
Test Assets LICENSE
In order to properly test the face recognition feature, this project uses free photos downloaded from Unsplash released under their Unsplash Licence.
Those assets can be found at packages/tensorflow_models/tensorflow_models_web/test/test_assets/,
and the links from each individual image on the LICENSE file under that same folder.