4.8 KiB
Packaging API Dash
Windows
Packaging and Distributing Flutter Desktop Apps : Creating Windows .exe installer
macOS
Packaging and Distributing Flutter Desktop Apps: Creating macOS .app & .dmg
Linux Debian (.deb) & RPM (.rpm)
Packaging and Distributing Flutter Desktop Apps: Creating Linux Debian (.deb) & RPM (.rpm) builds
Arch Linux (PKGBUILD)
TODO Instructions
FlatHub (Flatpak)
TODO Instructions
Homebrew
Homebrew Formula Submission
1. Prepare Tap Repository
# Create Homebrew tap
gh repo create homebrew-tap --public --clone
mkdir -p homebrew-tap/Formula
cd homebrew-tap
2. Package apidash
# Build macOS bundle
flutter build macos

# Create versioned tarball
tar -czvf apidash-v1.0.0.tar.gz \
  -C build/macos/Build/Products/Release/ \
  Apidash.app

# Generate SHA256 checksum
shasum -a 256 apidash-v1.0.0.tar.gz
3. Create Formula File
Formula/apidash.rb:
class Apidash < Formula
  desc "Modern API dashboard for developers"
  homepage "https://apidash.dev"
  url "https://github.com/<user>/<repo>/releases/download/v1.0.0/apidash-v1.0.0.tar.gz"
  sha256 "PASTE_YOUR_SHA256_HERE"

  def install
    prefix.install "Apidash.app"
    bin.write_exec_script prefix/"Apidash.app/Contents/MacOS/Apidash"
  end

  test do
    system "#{bin}/Apidash", "--version"
  end
end
4. Local Validation
# Check formula syntax
brew audit --strict Formula/apidash.rb

# Test installation
brew install --build-from-source Formula/apidash.rb

# Verify execution
brew test apidash
5. Custom Tap Submission
# Commit formula to your tap repo
git add Formula/Apidash.rb
git commit -m "added apidash formula"
git push

# Create release for tarball
gh release create v1.0.0 apidash-v1.0.0.tar.gz
6. Installation
brew tap homebrew-tap/Formula
brew install apidash
Chocolatey
Step 1: Setup Skeleton
First step towards making a choco package is initializing a base.
The command choco new -h can teach you more about the new command, its usage, options, switches, and exit codes.
Run the following command to setup the base
choco new --name="apidash" --version="0.3.0" maintainername="foss42" maintainerrepo="https://github.com/foss42/apidash" --built-in-template

This creates the following folder structure
apidash
├── ReadMe.md
├── _TODO.txt
├── apidash.nuspec
└── tools
    ├── chocolateybeforemodify.ps1
    ├── chocolateyinstall.ps1
    ├── chocolateyuninstall.ps1
    ├── LICENSE.txt
    └── VERIFICATION.txt
The files ReadMe.md and _TODO.md can be deleted before pushing.
The files of our main interest are chocolateyinstall.ps1 and apidash.nuspec.
Step 2: Editing chocolateyinstall.ps1
Take a look at chocolateyinstall.ps1 file. There are many comments stating the use case of each line itself.

Comments can bre remoed using the following command.
$f='apidash\tools\chocolateyinstall.ps1'
gc $f | ? {$_ -notmatch "^\s*#"} | % {$_ -replace '(^.*?)\s*? [^``]#.*','$1'} | Out-File $f+".~" -en utf8; mv -fo $f+".~" $f
Now our chocolateyinstall.ps1 file is ready.
Step 3: Editing apidash.nuspec

Step 4: Build the package
All our files are ready, we just need to pack out files in a choco package with the extension .nupkg.
Run the following command from the root of your directory:
choco pack
This command generates the apidash.0.3.0.nupkg file.
Step 5: Test the Package Locally
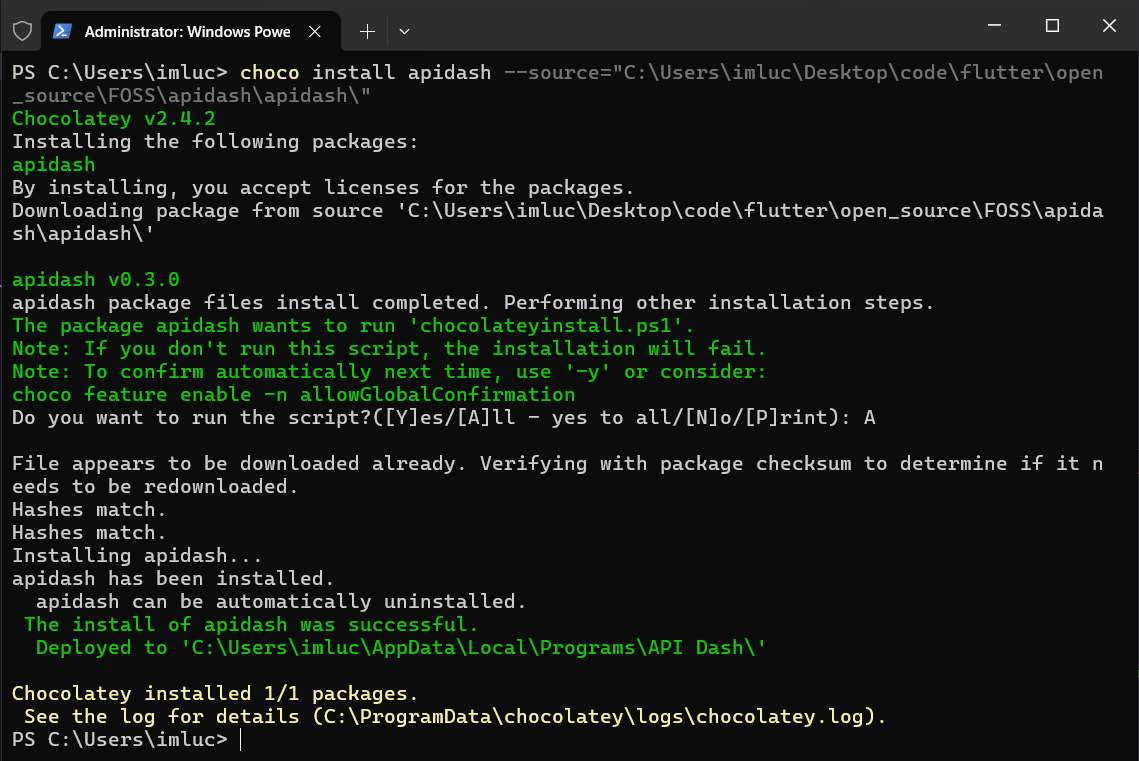
Install the package locally using Chocolatey:
choco install apidash -s .
Ensure the application installs correctly.
Step 6: Pre-Publishing - Update LICENSE.txt & VERIFICATION.txt
Update LICENSE.txt with the actual **LICENSE **and VERIFICATION.txt accordingly.
Step 7: Publish the Package (Optional)
To share the package, you can push it to a Chocolatey repository. For the official Chocolatey Community Repository, follow these steps:
- Create an account on the Chocolatey Community.
- Get an API key by navigating to your profile.
- Use the following command to push your package:
choco push apidash.0.3.0.nupkg --source="https://push.chocolatey.org/" --api-key="YOUR_API_KEY"
WinGet
TODo Instructions